7 Tips to Understand Why Your LED Controller Gets Hot

Time:2026-09-26 Author:Isabella
0%

Why does my LED controller get hot during operation? This question deserves more than a quick touch test. A warm enclosure may reflect normal switching losses, limited airflow, or an overloaded output channel. However, excessive heat can signal poor wiring, an undersized power supply, blocked ventilation, or a failing component.

The U.S. Department of Energy’s Solid-State Lighting R&D Opportunities report identifies thermal management as a major factor affecting LED performance, reliability, and lifetime. Its research also links higher junction temperatures with reduced efficiency and faster component degradation. NEMA guidance similarly emphasizes correct loading, installation conditions, and adequate heat dissipation for LED equipment. These findings matter in real rooms. A controller mounted inside a sealed cabinet can trap heat like a small metal oven.

James R. Benya, a recognized lighting engineer, has put the risk simply: “Heat is the enemy of LEDs.” His statement applies to controllers as well, because switching devices, resistors, and power components all release heat during operation. Still, the phrase is not a complete diagnosis. Temperature, current, ambient conditions, and installation quality must be checked together. Guessing by touch is weak evidence. A controller may feel hot while operating within its rated range, or feel only warm before an internal fault develops. This guide examines seven practical causes, from excessive load and poor ventilation to incorrect voltage and aging components. It also explains what to measure, what warning signs deserve attention, and when professional inspection is safer than continued testing.
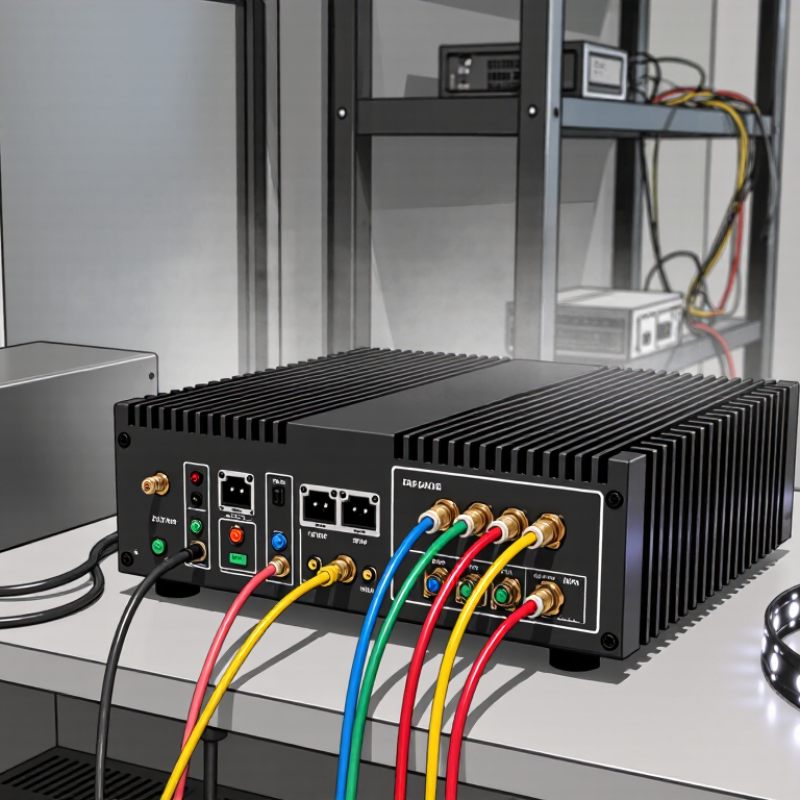
7 Tips to Understand Why Your LED Controller Gets Hot

What an LED Controller Does and Why Its Temperature Matters

An LED controller sits between the power supply and the lights. It adjusts brightness, color, or flashing patterns by regulating the electrical output. Some models switch power rapidly, while others use different control methods. In either case, part of the incoming energy becomes heat. A slightly warm case can be normal. Temperature still matters because trapped heat can stress components and shorten service life.

Tip: Check the controller’s rated load and ventilation instructions. A unit driving a long strip may work harder than one controlling a few short sections. Feel the enclosure after it has run for a while, but do not rely on touch alone. Warmth is subjective, and the surface may not reflect internal temperatures. That distinction is easy to miss.

Dust, a closed cabinet, or tight wiring can limit airflow. Leave space around the case, and compare its load with the manufacturer’s stated limits. If it becomes unusually hot, flickers, or shuts down, switch off power before inspecting connections. Look for loose terminals, damaged insulation, or an unsuitable power supply. A warm controller is not automatically faulty; repeated overheating deserves attention. I would not guess at a safe temperature without the model’s specifications.

How Electrical Load and Power Conversion Generate Heat

An LED controller warms up because it handles electrical current and converts power, not because the LEDs alone produce heat. When the connected load draws more current, resistance in internal components and wiring creates additional heat. The effect rises quickly as current increases. A practical check is to compare the total LED load with the controller’s rated output, leaving some operating margin. Tight screw terminals matter, too: a loose connection can create a small hot spot. Look for discoloration or brittle insulation, but switch off power before inspecting wiring.

Power conversion adds another source of warmth. A controller may step voltage down or regulate it through switching components; neither process is perfectly efficient. The unused energy becomes heat. A large input-to-output voltage difference can increase heating in some designs, especially under heavy load. Feel the enclosure only as a rough clue. Better evidence comes from checking its temperature with a suitable thermometer and comparing readings with the manufacturer’s limits. Airflow counts. A controller pressed against insulation or enclosed in a crowded cabinet may run hotter than one in open space. Warm is not automatically faulty. Still, repeated shutdowns or a burning smell deserve attention, and the exact cause is not always obvious.

7 Tips to Understand Why Your LED Controller Gets Hot — How Electrical Load and Power Conversion Generate Heat

Tip Possible Heat Source How to Check It Example or Useful Relationship What to Do
1 Check the actual load current. Excess current increases losses in the controller’s switches, wiring, and circuit-board traces. Measure current while all intended LED channels are operating. Compare it with the controller’s continuous-current rating, not just its short-term or peak rating. Resistive heating follows P = I²R. For example, 5 A through a total resistance of 0.10 Ω produces 2.5 W of heat. Reduce the load, divide it among appropriately rated outputs, or use a suitable power stage. Follow the controller’s specified current limits.
2 Account for simultaneous channel loading. Individual outputs may each be within their limits while the combined load exceeds the controller’s total rating. Record the current on each channel and add the values. Check both the per-channel and aggregate limits in the product documentation. If four channels each draw 2 A, the combined current is 8 A; a 6 A total rating would be exceeded even though each channel draws only 2 A. Reduce simultaneous channel demand or use a controller and supply with adequate per-channel and total capacity.
3 Identify linear voltage conversion. A linear regulator dissipates the voltage it drops as heat. Check whether the controller uses a linear regulator for the relevant voltage conversion, then note its input voltage, output voltage, and load current. Approximate regulator loss is P = (Vin − Vout) × I. Dropping 24 V to 12 V at 1 A produces about 12 W of regulator heat. Use a suitably rated switching converter where appropriate, or reduce the voltage drop and load. Confirm compatibility before changing the supply.
4 Allow for switching-converter losses. A switching supply or converter is efficient, but it still converts some input power into heat. Look up the converter’s efficiency at the actual input voltage and load; efficiency can vary with operating conditions. At 90% efficiency, delivering 24 W requires about 26.7 W of input power, leaving approximately 2.7 W as loss: Ploss = Pout(1/η − 1). Use a converter with suitable capacity and efficiency for the operating point, and provide the ventilation required by its design.
5 Inspect connectors and wiring. Loose, damaged, or undersized connections can create localized resistance and heat. With power disconnected, inspect terminals and wiring for looseness, corrosion, discoloration, or damaged insulation. Check that connections are made as specified. A connection with 0.05 Ω resistance carrying 4 A dissipates I²R = 0.8 W at that small contact area. Repair or replace defective connections, use wire and terminals rated for the current, and tighten terminals to the specified method or torque.
6 Consider PWM load and operating pattern. Repeated switching and high current during each on-period can contribute to component and conductor losses. Check the load current during the on-period, the PWM duty cycle, and the controller’s supported load type. Do not rely on average current alone for peak or RMS limits. For an ideal resistive load switched between zero and a fixed on-current, RMS current is approximately Ion × √D, where D is the duty cycle. Real controller losses also depend on switching and component characteristics. Keep peak, RMS, and continuous loads within the manufacturer’s limits. Use a controller designed for the LED load and dimming method.
7 Check ambient temperature and heat dissipation. A warm enclosure, blocked airflow, or nearby heat source can raise component temperatures even when electrical load is acceptable. Measure ambient temperature near the controller and check its mounting, enclosure, ventilation, and required clearances. A simplified estimate is temperature rise ≈ power loss × thermal resistance. For example, 3 W of loss at 8 °C/W corresponds to about a 24 °C rise above ambient; actual installation conditions change thermal resistance. Improve airflow or mounting as allowed by the product instructions, keep vents clear, and reduce load or ambient temperature when necessary.

Note: Numerical examples are illustrative calculations, not controller ratings or temperature limits. Follow the controller and power-supply specifications, and disconnect power before inspecting wiring.

How Wiring, Ventilation, and Installation Affect Controller Temperature

A controller may feel warm during normal operation, but wiring can make that heat worse. Undersized cables create resistance, especially on long runs carrying substantial current. Check the cable size against the controller’s current rating and installation instructions. Loose terminal screws can also cause localized heating. Look for discoloration, softened insulation, or a faint burnt smell. Small clues matter.

Ventilation is easy to overlook. A controller squeezed behind curtains or packed inside a crowded cabinet cannot shed heat efficiently. Leave clear space around its vents, and avoid stacking insulation or other equipment against its case. Dust buildup can restrict airflow too. Check the enclosure after several hours of normal use, not just when the system is cool. Still, touch alone is not a precise temperature test.

Installation surfaces and location affect temperature as well. A unit mounted in direct sunlight, above a warm power supply, or inside a sealed box may run hotter. Use a firm mounting surface and follow the specified clearances; a metal surface can help dissipate heat only when the design allows it. Match the controller to the connected load, and do not assume a higher rating solves poor airflow. I have seen tidy installations hide tight bends and crowded terminals. They look finished, but deserve another inspection.

How to Distinguish Normal Warmth from Dangerous Overheating

A warm LED controller is not automatically failing. Its case may feel mildly warm after several hours, especially inside a shallow cabinet with little airflow. Check the product label or manual for its permitted ambient temperature and installation clearance; touch alone cannot confirm safety. A finger test is crude. Measure the case with an infrared thermometer, then compare the reading with the stated limits.

Look for changes, not just warmth. A rising temperature, hot-plastic smell, discoloration, buzzing, flickering, or repeated shutdowns deserves attention. Switch off power before inspecting connections, and do not open an energized controller. Loose terminals and overloaded outputs can create localized heat, even when the case seems acceptable. If the temperature exceeds the specified limit, or symptoms persist, stop using it and ask a qualified electrician to inspect the load and wiring.

NFPA’s Home Electrical Fires report estimates that electrical distribution and lighting equipment were involved in an average of 32,620 reported home fires annually from 2015 to 2019. This broad category does not mean LED controllers caused those fires, but it supports taking abnormal heat seriously. Keep vents clear, avoid stacking equipment, and check temperatures under the actual load. A warm enclosure may be normal; a worsening smell or heat pattern is not.

How to Reduce Heat and Prevent LED Controller Failure

An LED controller often heats up because current, switching losses, and poor airflow meet inside a small enclosure. Reduce the load where possible, and check that the controller’s rated current exceeds the strip’s actual demand. Leave clear space around vents; do not tuck the unit beneath insulation or coil excess cable against it. Small changes matter.

Measure, don’t guess. Use a contact probe on the case after the lights have run for an hour, then compare the reading with the controller’s specifications. The U.S. Department of Energy’s report, LED Luminaire Lifetime: Recommendations for Testing and Reporting, identifies operating temperature as an important factor in assessing LED-system lifetime. IEC TR 62380 also accounts for temperature and electrical stress in reliability prediction. For electrolytic capacitors, industry reliability guides commonly use a rule of thumb: life may roughly double with each 10°C reduction in operating temperature. Actual results depend on the component and conditions.

Check connections for loose terminals, discoloration, or softened insulation; resistance at a poor connection can create a local hot spot. Keep the controller dry, clean dust from vents, and use a suitable enclosure that does not trap heat. A fan can help, but only if air can enter and leave freely. A cooler case is not proof that internal parts are safe. I’ve seen temperature checks skipped because the lights still worked—and that is an easy assumption to regret.

FAQS

Why does an LED controller get warm?

It carries current and converts power, and neither process is perfectly efficient. Some unused energy becomes heat.

Can a heavy LED load make it hotter?

Yes. Higher current can increase heat in internal parts and wiring. Compare the strip’s demand with the controller’s rated output, and leave operating margin.

How can I tell normal warmth from overheating?

A mildly warm case may be normal. Touch alone is crude. Measure the case after the lights have run, then compare it with the product’s stated limits.

What warning signs should I watch for?

A rising temperature, burning smell, discoloration, buzzing, flickering, or repeated shutdowns deserve attention. Stop using the controller if symptoms persist.

Can a loose connection cause a hot spot?

Yes. A loose terminal can create localized heat, even if the case feels acceptable. Switch off power before inspecting connections.

How does installation affect controller temperature?

A crowded cabinet, blocked vents, or insulation around the unit can trap heat. Leave clear space for air to move.

What can I do to reduce heat?

Check the actual load, keep vents clear, and remove dust. A fan may help only when air can enter and leave freely.

Does a cooler case prove the controller is safe?

No. Internal parts may still be hot. I used to trust touch; that was too casual. Measure under the real load and take persistent warning signs seriously.

Conclusion

An LED controller regulates the power and signals that operate connected lights, and its temperature can reveal how well the system is working. Why does my LED controller get hot during operation? Some warmth is expected because electrical current and power conversion naturally produce heat. However, a controller may become unusually hot when the connected load is too large, the wiring is inadequate or poorly connected, or the unit is installed in a cramped space with little airflow.

To assess the temperature, consider how quickly the controller heats up, whether it feels excessively hot, and whether the lights flicker, dim, or shut off. Check that the load is within the controller’s rated capacity, connections are secure, and the installation allows heat to escape. Keeping the controller clean and unobstructed, improving ventilation, and avoiding excessive load can reduce heat and help prevent premature failure. If overheating continues or operation becomes unreliable, stop using the controller until the setup can be inspected.

Isabella

Isabella

Isabella is a dedicated marketing professional with a sharp focus on driving brand growth and engagement through strategic content creation. With an extensive background in digital marketing, she combines her passion for storytelling with her keen understanding of industry trends to deliver......